How to Set Up Hostinger Premium Plan with Domain
🧱 How to Set Up Hostinger Premium Plan with Domain (Complete Beginner Guide)
If you’re starting your first website, setting up hosting can feel confusing.
But don’t worry — this step-by-step guide will help you launch your website easily using the Hostinger Premium plan.
👉 Even if you’re a complete beginner, you can follow this.
🧠 What is Hostinger Premium Plan?
The Premium plan is ideal for beginners who want:
✔ Host multiple websites
✔ Free domain (on yearly plans)
✔ Better speed than basic hosting
✔ Easy WordPress setup
👉 It’s perfect for blogs, business websites, and small projects.
🛒 Step 1: Buy Hostinger Premium Plan (Correct Way)
👉 Go to Hostinger official website
👉 Select Premium Web Hosting
During checkout:
✔ Choose longer plan (12–48 months for best price)
✔ Claim your free domain
✔ Select data center (choose nearest to your audience, e.g., India)
✔ Apply coupon code (important 💰)
We Have Best Discount For Hostinger Premium Plan - Redeem Now
🌐 Step 2: Choose & Register Your Domain
You’ll get a free domain.
Tips for choosing domain:
✔ Keep it short and simple
✔ Avoid numbers and hyphens
✔ Use .com if available
👉 Example: yourbrand.com
⚙️ Step 3: Access Hostinger hPanel
After purchase:
👉 Login to dashboard
👉 Open hPanel
This is where you manage everything:
✔ Websites
✔ Domains
✔ Emails
✔ Files
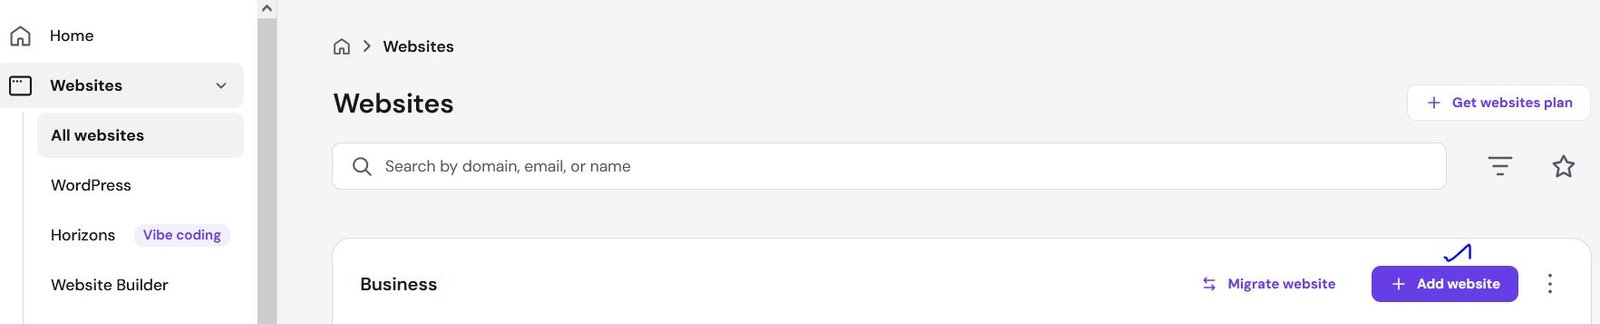
🏗️ Step 4: Create Your Website
Go to:
👉 Websites → Add Website
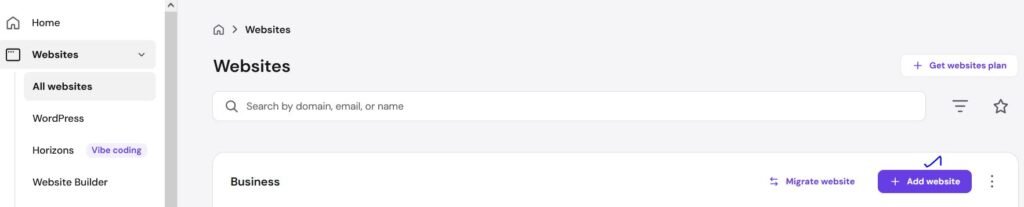
You’ll see options:
✔ Create WordPress site (Recommended)
✔ Create empty website
👉 Choose WordPress
🧩 Step 5: Install WordPress (Important Setup)
Enter details:
✔ Website name
✔ Admin email
✔ Strong password
👉 Click install
⏱️ Takes 1–2 minutes
🎨 Step 6: Choose a Theme
You’ll get theme options:
✔ Astra (lightweight)
✔ GeneratePress
✔ Default themes
👉 Choose simple & fast theme (don’t overthink)
🔒 Step 7: Enable SSL Certificate (VERY IMPORTANT)
Go to:
👉 Security → SSL
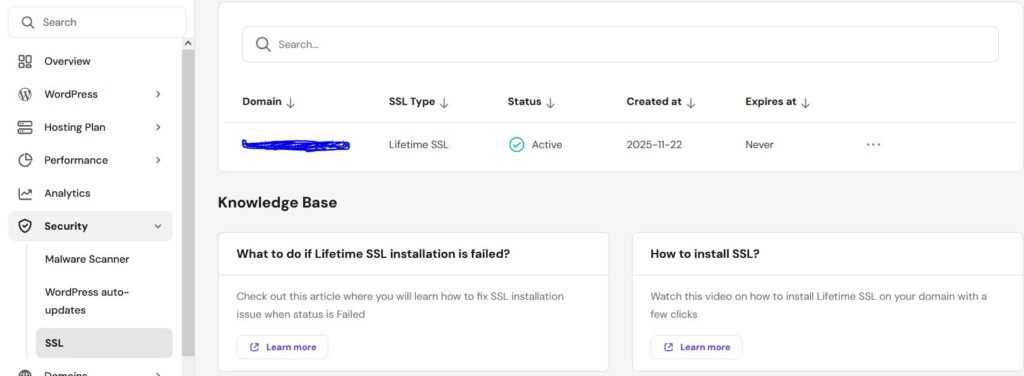
✔ Click Activate
✔ Wait 2–5 minutes
👉 Your site becomes:
🔐 https://yourdomain.com
🌍 Step 8: Fix HTTP to HTTPS (Avoid Errors)
Sometimes site still loads in HTTP.
👉 Fix by:
✔ Updating WordPress URL
✔ Using SSL plugin
✔ Clearing cache
👉 Prevents mixed content errors
⚡ Step 9: Optimize Website Speed (Must Do)
Install:
✔ LiteSpeed Cache plugin
✔ Image optimization plugin
Basic settings:
✔ Enable cache
✔ Enable minify
✔ Enable lazy load
👉 This improves speed drastically
Learn – Hostinger LiteSpeed Cache Settings (Best Configuration for Maximum Speed)
📧 Step 10: Create Professional Email
Premium plan includes email.
Go to:
👉 Emails → Create Account
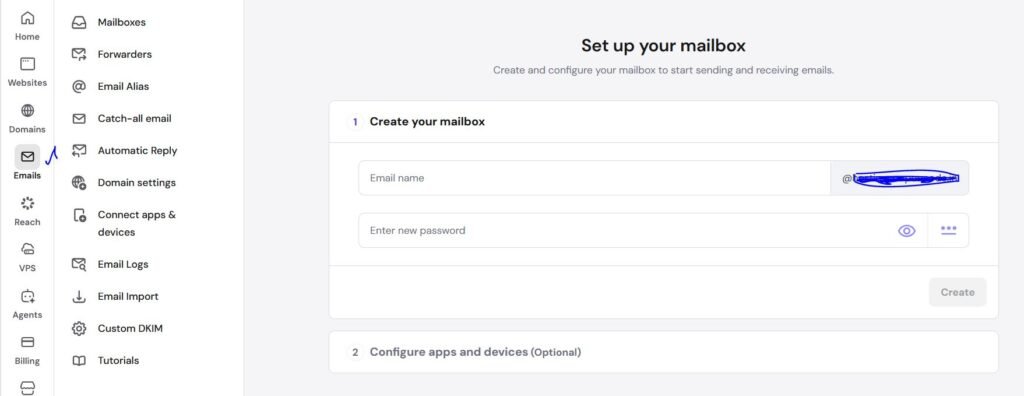
Example:
📧 info@yourdomain.com
👉 You can connect it with Gmail for easy use
💾 Step 11: Setup Backups (DON’T SKIP)
Go to:
👉 Files → Backups
✔ Enable automatic backups
✔ Download backup manually
👉 Protects your site from crashes
🔐 Step 12: Basic Security Setup
Install plugin:
✔ Wordfence OR security plugin
Also:
✔ Change default login URL
✔ Use strong passwords
⚠️ Common Mistakes Beginners Make
❌ Not enabling SSL
❌ Using heavy themes
❌ Installing too many plugins
❌ Ignoring backups
❌ Not optimizing images
🔥 Pro Tips (From Experience)
✔ Start simple → improve later
✔ Don’t install unnecessary plugins
✔ Always update WordPress & plugins
✔ Choose fast theme
🎯 Who Should Use Premium Plan?
✔ Beginners
✔ Bloggers
✔ Small business owners
✔ Portfolio websites
💰 When to Upgrade?
Upgrade if you have:
✔ High traffic
✔ WooCommerce store
✔ Performance issues
👉 Move to cloud or VPS later – Check Current Offers and Discounts here
🎉 Final Thoughts
Setting up a website using the Hostinger Premium plan is simple if you follow the right steps.
👉 Within 10–15 minutes, you can launch your website successfully.
FAQ
Usually 10–15 minutes.
Yes, with yearly plans.
Yes, it’s beginner-friendly and easy to use.
No, WordPress setup is simple.
Yes, Premium plan supports multiple sites.
Related Post
Hostinger VPS Setup Guide (Step-by-Step for Beginners – 2026)
Hostinger WooCommerce Performance Guide (Speed Optimization for Online Stores)
How to Fix “The Link You Followed Has Expired” Error in WordPress (Complete Guide)